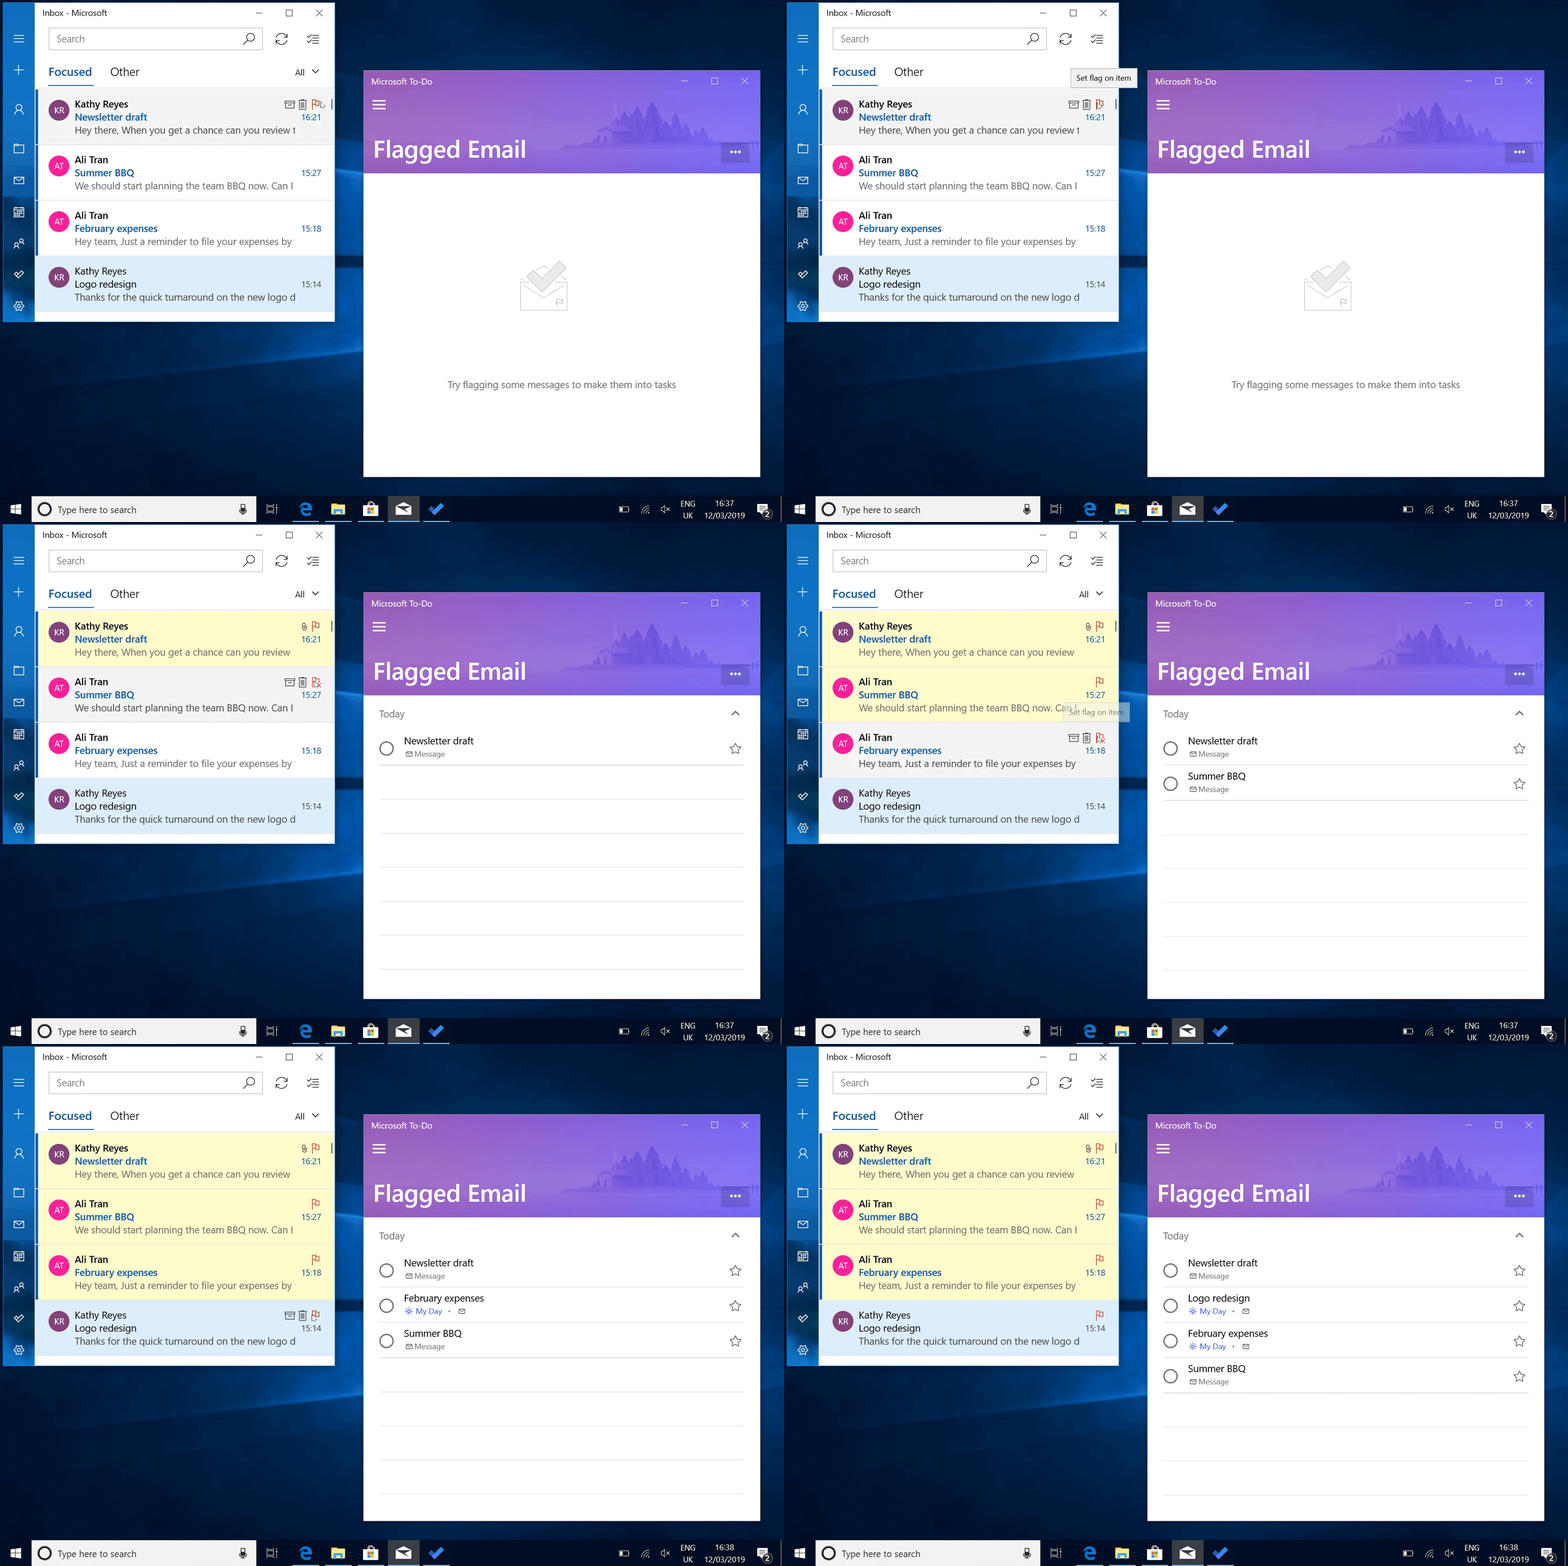
Power tips for Microsoft To Do
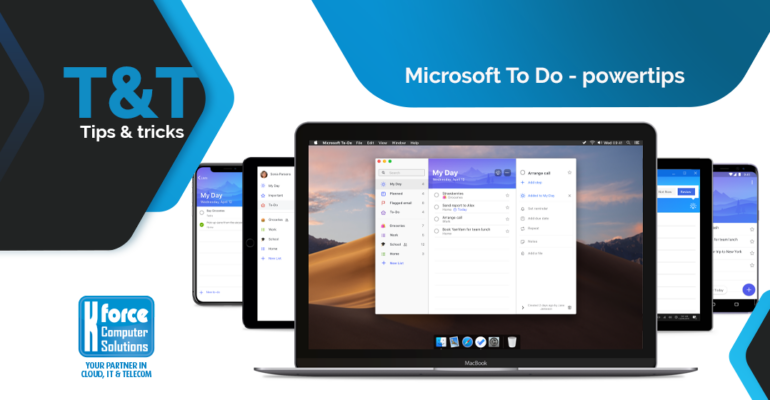
Power tips for Microsoft To Do
January and September are often the typical months of the year in which we pick up some good intentions in terms of organization and work. We (re)discovered some well-known and perhaps less-known possibilities within Microsoft To Do. With these power tips for a better planning you are ready to take off again!
It has been scientifically proven that the fear we have of forgetting things causes stress. And stress causes forgetfulness. The success of to-do lists is therefore easy to explain. But what if you work at different locations, often forget, or simply lose your list(s)? Do you sometimes have multiple lists with the same items? Or do you have so much work that you would like to divide tasks within your team? There are already a lot of productivity apps available, but especially if you already use Office 365, Microsoft To Do is an excellent choice. Completely integrated within your Office environment and synchronized everywhere. Not only on all your different devices, but also within the various Office apps, such as Outlook, Teams and Planner.
Todos via any platform
The To Do app works on any platform and can be accessed from anywhere: via the web browser, desktop app for Windows and Mac OS, Android, iOS or even via the Microsoft Teams app.
- Via your web browser – everything is displayed exactly the same everywhere: todo.microsoft.com.
- Windows App Store: click here.
- Android Play store: click here.
- Apple App Store: click here.
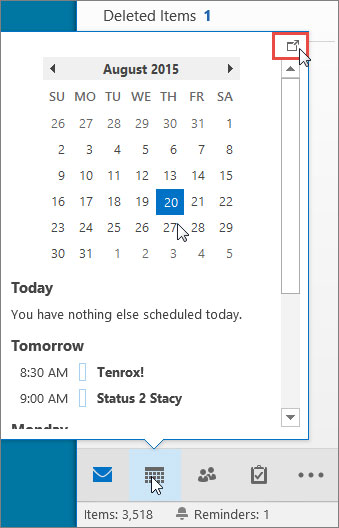
- You can also visualize your tasks within the Outlook application. Via the “Tasks” icon, but also next to your emails. In most versions you can do this via View > Taskbar > Tasks. The tasks you create (in any way) will automatically become visible.
Create tasks
There are several ways to create tasks. The most obvious one is to use the plus (+) sign. Here we limit ourselves to three ways that are just a little more efficient.
Create tasks via Teams
This is an important timesaver for employees who often use Teams. You can also view your To Do’s within the Teams application. You will see the same overview, including functionalities, as in the To Do app. To activate this, click on the three dots in the left bar and search for “Tasks by Planner and To Do app”.
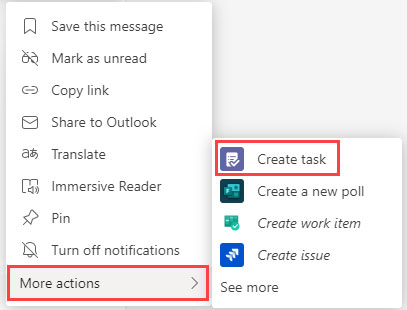
Now you can turn every chat message into a task. Just click on the three dots that appear when you hover your mouse over a message and choose More Actions, then Create Task.
Create tasks by dragging
By dragging text that you select from an email (yours or someone else’s) to the “Tasks” icon in Outlook, you automatically create a new task, in which the selected text is already prefilled. You can also drag an entire mail to the icon, to create a task from that mail. This works in both the application and the web version. Very useful!
Mark emails as tasks with a flag
Of all the emails you get, there are always some that you need to take action on. You do not have to manually create tasks for this. All you need to do is flag those critical emails. You do this by clicking on the flag that appears when you move your mouse over the e-mail.
Sometimes you still need to activate this functionality. To do this, go to the To Do Settings by clicking on your profile picture. Scroll down and under Connected Apps, check the Flagged Email option.
All emails you flag with the flag will now automatically appear as a task in the “Flagged Email” smart list. If you click on the flag next to the e-mail again, the task is marked as completed.
Smart lists
In addition to the Flagged Email smart list, To Do provides several other smart lists: My Day, Scheduled, Important, and Assigned To Me. You can find them at the top of the navigation menu. You cannot create or adjust them yourself, but you can delete them in the view via the settings. Smart lists automatically list tasks according to a specific theme to help you not miss anything.
My Day & Planned
Sometimes you have tasks where a deadline is very important. To set a deadline, click on the task. This will display the properties of that task in a sidebar. The Add to My Day button will add this item to today’s to-do list. If you click on My day in the left column, you will see the tasks that you have to complete today.
To set a deadline further in time, use Add due date in the right column. Then you have the choice: is the deadline today, tomorrow, next week on the same day or do you want to choose a specific date?
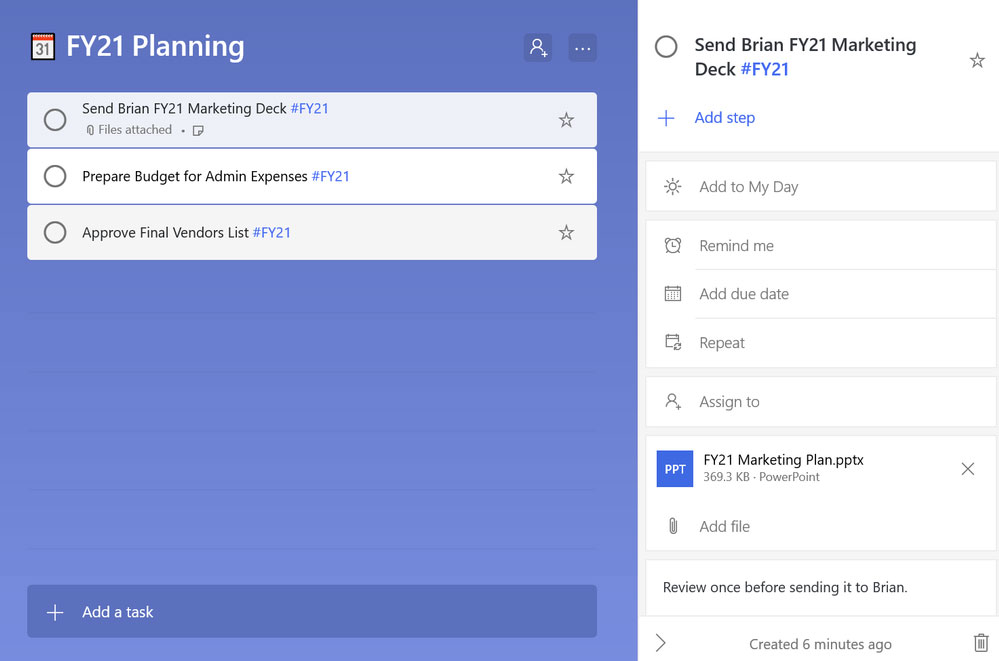
The Scheduled list collects the tasks from all lists where you have set a deadline. You will see a handy view by date.
Important
This will collect all the tasks you’ve starred. You do this by moving over the task and clicking on the star next to it. This allows you to list the items to which you have given high priority at a glance.
Assigned to me
The Assigned to Me list collects the tasks that others have shared with you and that they have specifically assigned to you, for example as part of a collaboration on a common project.
Divide the tasks
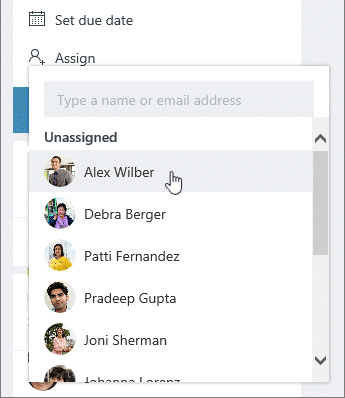
Indeed, you can also assign tasks to others via To Do, or be assigned tasks yourself. Not only useful for collaborations on projects, but also for something as simple as a shopping list.
You can share a created list (within your organization) by clicking the + Share button at the top right. Then you can start assigning tasks within that list to the people with whom the list has been shared, including yourself. From that moment on, the members of the group can also add tasks themselves and possibly assign them to you.
Even more efficient
We’re gearing up with some more advanced tips that you can use as your list size and complexity grows.
Steps in tasks
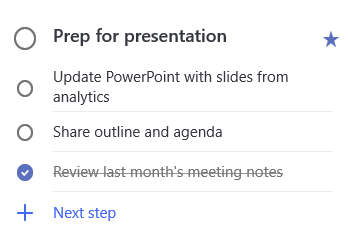
Breaking large or complex tasks into steps can be helpful. Click on a task, and you will see the + Add step button in the properties menu. You can add as many steps as needed that way. Check off the steps as you complete them. The main task will never check itself off, even though all steps within the task have been completed. You cannot assign steps to others and you cannot set an end date for them.
Repetitive Tasks
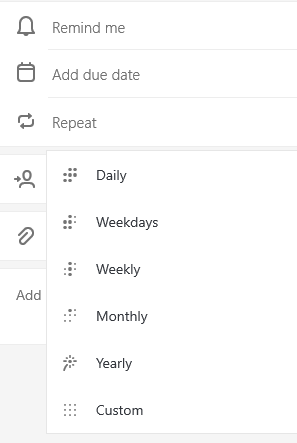
Maybe you have to do some tasks repetitively at fixed times. A handy function has also been built in for this. Select the task you want to repeat. Add a due date to make this task happen on a specific day so that it can be repeated. After the due date is added, click the Recurrence option to add a daily, weekly, weekly, monthly, yearly, or custom recurrence for this task. A recurring task is just one task with a deadline that keeps moving. When you finish such a recurring task, it is automatically reset for the next deadline.
Hashtags
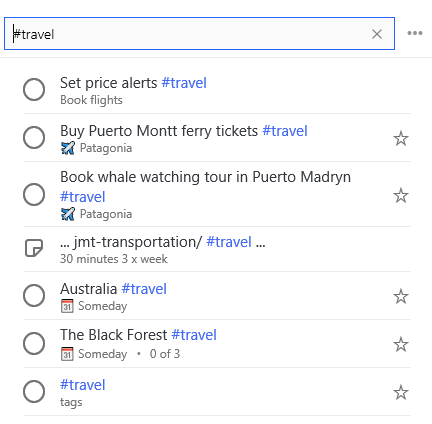
For the enthusiastic users, there is the slightly less-known option to work with hashtags. This can save you some time. You can place a space + railway sign in the title of your task, immediately followed by a text of your choice (without spaces, in one piece). Some possible benefits:
- If you have multiple lists with a common hashtag, you can find them all by searching for the hashtag.
- You can add an extra level to your task organization based on the hashtag used.
- You can use a hashtag-based system to prioritize tasks.
If you have arranged all your items in different lists in an orderly fashion, you sometimes want to be able to make connections between tasks that are in those different lists. For example, you may have created non-work-related tasks through different lists that you sometimes want to be able to find quickly. If we place the hashtag #personal in the titles of the relevant tasks in our example, then the hashtag becomes clickable. As a result, with one click on such a hashtag, you get all tasks listed with that hashtag. You can also just search for it using the search bar at the top.
Group lists
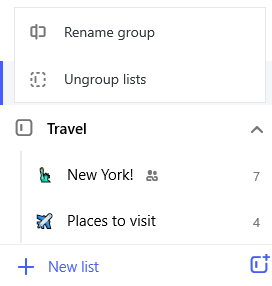
This feature keeps the navigation menu compact by grouping multiple lists.
You can create a group by clicking the Create a new group button next to the New List button in the navigation menu. Then give the group a meaningful name. Now you can drag existing lists to your new group. You can now also open or collapse the group to have a more compact overview of your lists, if desired.
Did you learn anything? We surely hope so. Do you think of someone who can learn from this? Then make sure to forward this article. And do you need help with To Do or other Microsoft 365 apps? You can always contact our helpdesk.
Our team of account managers is ready to help you

Christian

Jordan

Jurgen

Didier

Jean-Marc

Kaj

